


Securing your email infrastructure is a critical component of protecting your organization’s digital ecosystem. Every message sent from your domain represents your brand, and without proper authentication, it can be exploited by malicious actors.
Domain-based Message Authentication, Reporting, and Conformance (DMARC) helps organizations safeguard their domains against phishing, spoofing, and other forms of email-based fraud. It builds upon existing authentication protocols such as SPF (Sender Policy Framework) and DKIM (DomainKeys Identified Mail) to ensure that only authorized servers can send messages on behalf of your domain.
This guide explains how to set up DMARC records step by step, helping you enhance your organization’s security posture, improve email deliverability, and protect your stakeholders from potential threats.
What is DMARC?
DMARC, or Domain-based Message Authentication, Reporting, and Conformance, is an open email authentication standard used by nearly 70% of the world’s inboxes to improve email security. It is one of the most effective measures organizations can implement to protect their domains from unauthorized use and cyberattacks such as phishing and spoofing.
The protocol is built on two existing email authentication protocols, Sender Policy Framework (SPF) and DomainKeys Identified Mail (DKIM). Both must be correctly configured, and at least one must align with the domain in the From header for DMARC to pass. These protocols work together to validate that emails are sent from legitimate sources and have not been altered in transit.
By implementing DMARC, businesses gain visibility into how their email domains are used and can identify unauthorized sending sources. This not only improves email deliverability but also helps detect and prevent fraudulent activity. In addition, DMARC strengthens customer trust by ensuring that messages originating from your domain are authentic, reducing the risk of financial losses caused by fraud or cybercrime.
Why Building DMARC Records is Important for Business Email Security
Implementing DMARC is one of the most effective ways for organizations to enhance the security of their business communications. Companies that deploy DMARC can more easily detect and prevent unauthorized use of their domains, minimizing the risk of phishing, spoofing, and other email-based attacks.
Beyond direct protection, DMARC offers additional benefits such as improved brand reputation, reduced customer support costs, and stronger trust from clients and partners. By authenticating outgoing emails, businesses can ensure that only verified messages reach recipients, reducing the likelihood of fraud and enhancing overall email deliverability.
In 2025, the global average cost of a data breach reached $4.4 million, marking a 9% decrease from 2024, which recorded the highest figure at $4.88 million. Organizations that adopted security AI and automation solutions saved an average of $2.22 million compared to those that did not, underscoring the importance of proactive measures like DMARC in reducing cybersecurity risks and financial impact.
How does DMARC Work to Protect Your Business?
DMARC functions as a policy layer on top of existing authentication protocols, giving domain owners control over how email servers handle messages that fail verification. By combining SPF and DKIM results, DMARC ensures that only authorized messages are delivered while providing detailed feedback on email activity. This process helps organizations detect abuse, strengthen deliverability, and protect brand reputation.
Sender Policy Framework (SPF) and DomainKeys Identified Mail (DKIM)
SPF and DKIM form the foundation of DMARC. The Sender Policy Framework (SPF) verifies that an email is sent from an IP address authorized by the domain’s DNS records, ensuring that only approved servers can send messages on behalf of the domain. DomainKeys Identified Mail (DKIM) adds a cryptographic signature to outgoing messages, confirming that the message has not been modified during transmission.
When properly configured, both SPF and DKIM work together to validate message authenticity and integrity, establishing the trust framework that DMARC relies on to make enforcement decisions.
How DMARC Records Tie it All Together
DMARC policies define how receiving mail servers should handle messages that fail authentication checks. These policies are set in the domain’s DNS using a TXT record that specifies rules for message handling and reporting.
A DMARC record instructs mail servers whether to monitor (p=none), quarantine (p=quarantine), or reject (p=reject) unauthenticated messages. It also includes reporting addresses for aggregate (RUA) and forensic (RUF) reports, which provide visibility into who is sending emails on behalf of your domain and whether they pass or fail authentication.
This feedback loop allows organizations to identify misconfigurations, monitor abuse attempts, and gradually move toward stricter enforcement.
Maintenance and Ongoing DMARC Monitoring
Setting up DMARC is not a one-time process. Continuous monitoring is necessary to maintain strong authentication and ensure legitimate messages are not blocked.
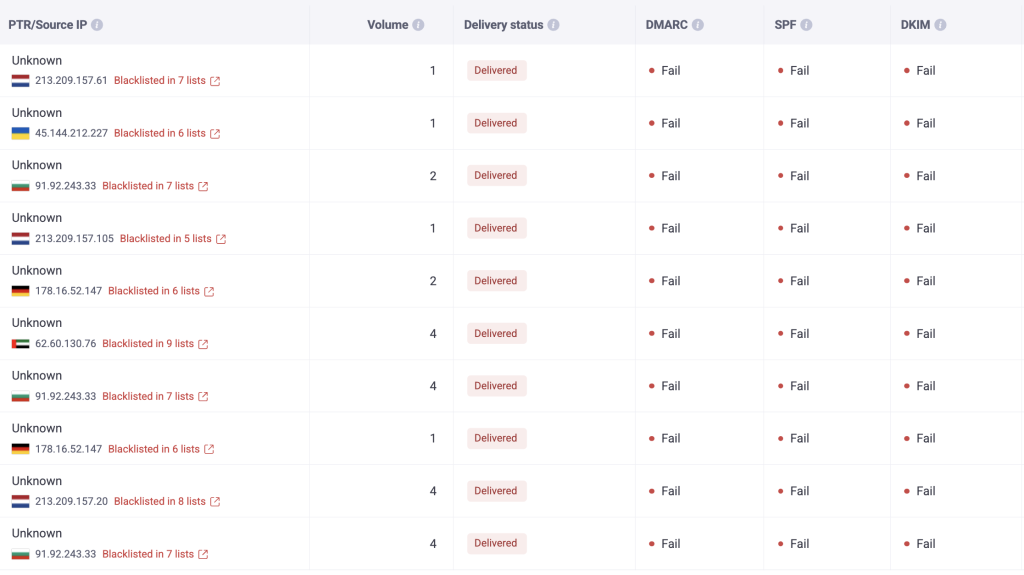
DMARC reports should be reviewed regularly to detect unauthorized senders, monitor policy effectiveness, and address configuration issues promptly. Using a dedicated DMARC management platform such as EasyDMARC simplifies this process by aggregating reports, highlighting risks, and helping businesses maintain compliance with evolving security standards.
Ongoing monitoring and adjustment ensure that DMARC continues to protect your organization as your email environment evolves.
How to Set Up a DMARC Record in DNS Step-by-Step
Setting up a DMARC record involves several essential steps to ensure your domain is fully protected and monitored. The following guide outlines the process in detail, from initial preparation to policy enforcement, so you can configure DMARC accurately and avoid common errors.
Step 1: Prepare Your Domain
Before creating a DMARC record, confirm that both SPF and DKIM are properly configured and functioning. DMARC relies on these protocols to validate legitimate email messages.
You can verify your DKIM configuration using a DKIM validator tool, which checks whether your domain’s DKIM record is active and correctly set up.
Access your DNS management console through your hosting provider (for example, Cloudflare, GoDaddy, or Namecheap) and ensure you have permission to add or modify DNS TXT records.
Step 2: Create Report Mailboxes
DMARC produces two types of reports: aggregate (RUA) and forensic (RUF). These reports provide insights into your domain’s email authentication activity and help identify unauthorized senders.
Set up dedicated mailboxes (e.g., [email protected] and [email protected]) to collect these reports. Keeping them separate from your main inbox helps manage large data volumes efficiently.
Step 3: Start With a Monitoring Policy (p=none)
When implementing DMARC for the first time, begin with a monitoring-only policy (p=none). This approach allows you to observe how your legitimate and unauthorized emails behave without disrupting message delivery.
Monitoring mode helps identify misalignments or unauthorized senders early on, giving you the opportunity to make corrections before applying enforcement rules.
Step 4: Add Your DMARC Record
After confirming SPF and DKIM readiness, create and publish your DMARC TXT record under dmarc.yourdomain.com in your DNS.
A standard DMARC record may look like this:
v=DMARC1; p=none; rua=mailto:[email protected]; ruf=mailto:[email protected]; fo=1; adkim=s; aspf=s;
Each tag has a specific function:
- v=DMARC1: Declares the DMARC protocol version.
- p=none: Sets the policy to monitoring mode.
- rua and ruf: Define reporting addresses for aggregate and forensic data.
- fo=1: Requests reports for any authentication failures.
adkim and aspf: Control DKIM and SPF alignment modes.
Step 5: Verify Your DMARC Setup
Once the record is published, verify that it is active and correctly formatted. Use EasyDMARC’s DMARC Record Checker or other online validation tools to confirm that your DNS changes have propagated successfully.
Verification ensures that the syntax, policy mode, and reporting tags are configured correctly, preventing issues during the monitoring phase.
Step 6: Monitor Your DMARC Reports
After activation, you will start receiving aggregate and forensic reports at your RUA and RUF mailboxes. Review these reports regularly to identify unauthorized senders and any authentication failures.
To simplify the process, use EasyDMARC’s enable DMARC reporting feature, which visualizes report data in a clear dashboard. This tool helps track passing and failing sources, evaluate policy performance, and ensure continuous alignment across all domains.
Step 7: Gradually Transition Your Policy to Enforcement
Once your reports confirm that all legitimate senders are authenticated, transition from monitoring to enforcement. Start with p=quarantine to isolate suspicious emails, then move to p=reject to block unauthorized messages completely.
A gradual transition minimizes disruption to business communications while strengthening domain security.
Step 8: Keep Monitoring
DMARC configuration is an ongoing process. Regularly review reports to detect any new senders or misconfigurations that might appear as your email environment evolves.
Continuous monitoring ensures that your DMARC implementation remains accurate, effective, and aligned with your organization’s security policies.
Common Pitfalls When Setting up DMARC
While implementing DMARC is straightforward, several configuration mistakes can prevent it from working as intended. Understanding these common pitfalls helps ensure a smooth and effective setup process that protects your organization from email-based threats.
1. Enabling a Strict Policy Too Early
Switching directly to a p=reject policy without sufficient monitoring can result in legitimate emails being blocked. Many organizations rush to enforcement without analyzing DMARC reports first, which leads to delivery failures for approved senders.
To avoid this, begin with a p=none monitoring policy to gather authentication data and verify that all sending sources are properly aligned. Once the data confirms that legitimate emails pass authentication, gradually move toward stricter enforcement.
2. Missing or Misconfigured Reporting Addresses
If the “rua” or “ruf” tags are missing or misconfigured in your DMARC record, you will not receive aggregate or forensic reports. Without these reports, it becomes difficult to understand which sources are passing or failing authentication and to identify spoofing attempts.
Ensure that both tags are correctly included and direct to valid mailboxes, such as rua=mailto:[email protected] and ruf=mailto:[email protected]. Verifying your reporting configuration early saves significant troubleshooting time later.
3. Ignoring Subdomain Policies
A common oversight is neglecting to define subdomain policies using the sp= tag. Without this, subdomains remain unprotected even when the main domain is secured by DMARC. Cybercriminals can exploit this gap by sending spoofed emails from subdomains that bypass the main domain’s DMARC policy.
Include a sp= tag in your record to ensure consistent protection across all subdomains. For example: v=DMARC1; p=reject; sp=reject; rua=mailto:[email protected];
4. SPF and DKIM Misalignment
DMARC depends on proper alignment between the “From” domain and the domains authenticated through SPF and DKIM. Even when SPF and DKIM pass, misaligned domains can cause legitimate messages to fail DMARC.
Review both SPF and DKIM configurations to ensure that their domains match the one used in the visible “From” address. Alignment is essential for DMARC validation and successful email delivery.
5. Syntax or DNS Configuration Errors
Even small syntax mistakes can invalidate a DMARC record and prevent it from being recognized by receiving servers. Missing semicolons, incorrect tags, or formatting errors are common issues during manual setup.
Always validate your DMARC record with EasyDMARC’s DMARC Record Checker before publishing it. This step ensures the record is error-free and follows best-practice formatting, saving time on troubleshooting later.
Why Should You Add a DMARC Record to Your DNS?
Adding a DMARC record to your DNS is a critical step toward establishing a secure and trustworthy email infrastructure. DMARC not only helps internet service providers (ISPs) verify the authenticity of your messages but also strengthens your organization’s defense against phishing, spoofing, and domain impersonation.
When properly configured, DMARC distinguishes legitimate emails from fraudulent ones, ensuring that communication from your domain reaches the intended recipients. This verification process enhances your brand’s credibility, protects your customers, and improves email deliverability rates.
In regions with strong cybersecurity regulations, such as Australia, adopting DMARC is considered a best practice for corporate email security. Configuring DMARC settings protects your employees, clients, and partners from malicious attempts to exploit your domain name.
Here are a few common examples of phishing attempts that DMARC can help prevent:
- Emails impersonating company executives requesting urgent payments
- Fake supplier invoices sent from look-alike domains
- Fraudulent password reset links appearing to come from internal systems
By adding a DMARC record and maintaining continuous monitoring, organizations can protect their domains, preserve customer trust, and ensure every outgoing message aligns with the highest security standards.
Build Your DMARC Record in Under One Minute with EasyDMARC
Creating a DMARC record does not have to be complicated. EasyDMARC’s intuitive DMARC generator helps you build a compliant record in seconds, ensuring all necessary parameters are correctly defined for your domain.
Follow these quick steps to create and publish your DMARC record:
1: Go to EasyDMARC’s DMARC Generator Tool
Enter your domain name and preferred configuration options. The tool automatically generates the correct TXT record syntax for your DNS.
2. Add the Record to Your DNS Settings
Copy the generated TXT record and add it under the host name dmarc.yourdomain.com in your DNS management console. This step ensures that your domain is recognized by receiving servers that validate DMARC.
3. Set the Appropriate DMARC Policy
Start with a monitoring-only DMARC policy (p=none) to observe how emails are authenticated and delivered. Once you verify that all legitimate senders are passing authentication, gradually move toward p=quarantine and then p=reject for full protection.
4. Monitor and Analyze Reports
After publishing the record, EasyDMARC automatically collects and visualizes DMARC reports, helping you identify any failed authentication attempts and track the effectiveness of your configuration.
By using EasyDMARC’s tools, organizations can configure and maintain DMARC quickly and accurately, eliminating guesswork, preventing misconfigurations, and reinforcing domain security across all communication channels.
Frequently Asked Questions
DMARC alignment ensures that the domain appearing in the visible “from” address matches the domains authenticated by SPF and DKIM. When alignment is strict and consistent, receiving servers can confirm that messages truly originate from the domain they claim to represent, reducing the risk of spoofing and phishing attacks
Aggregate (RUA) reports summarize authentication results for large volumes of messages, showing which IPs and domains pass or fail DMARC, SPF, and DKIM checks. These reports contain no personal message data. Forensic (RUF) reports, on the other hand, provide detailed information about individual emails that fail DMARC authentication and are generated in real time. Both types of reports are essential for monitoring domain activity and diagnosing issues.
It is recommended to review DMARC reports at least once a month. Larger organizations or those with high email volumes may prefer weekly reviews. Regular monitoring allows you to detect unauthorized senders, confirm that all legitimate systems are passing authentication, and make timely adjustments to your DMARC configuration.
SPF (Sender Policy Framework) is focused on two things: validating the sender’s IP address and checking if emails come from authorized servers. DKIM (DomainKeys Identified Mail), on the other hand, adds a digital signature to emails, verifies that an email hasn’t been tampered with, and provides authentication. Finally, DMARC builds on SPF and DKIM, sets policies for handling failed email authentication, provides reporting, and prevents email spoofing. Each protocol adds a layer of email security, with DMARC being the most comprehensive.
Most organizations remain on the p=none policy for about two to four weeks. This period allows time to analyze aggregate reports, confirm that all legitimate email sources are correctly authenticated, and identify any external vendors that need SPF or DKIM alignment. Once confident that your messages are passing consistently, you can begin transitioning to p=quarantine and eventually to p=reject.
When first implementing DMARC, always start with p=none to gather insight without affecting delivery. After reviewing your reports and resolving authentication issues, move to p=quarantine to isolate suspicious emails. Once your configuration is stable and no legitimate messages are failing, switch to p=reject for full enforcement. Gradual progression ensures security without disrupting communication.
If your organization sends emails through multiple platforms, each service must be properly aligned with your domain’s SPF and DKIM configurations. Start by ensuring that every sending IP or service is listed in your SPF record. Next, enable DKIM signing within each platform using your domain’s DNS keys so that outgoing messages are authenticated correctly. Finally, publish one unified DMARC record for your primary domain to monitor all email activity in a single view.
Using a platform such as EasyDMARC helps consolidate DMARC reports from all sources, providing centralized visibility and consistent enforcement across every communication channel.