SendGrid is an email marketing and email API company that allows its users to design and send beautiful marketing and automated messages. SendGrid DKIM and SPF authentication shows email service providers (ESP) like Google, Outlook, Yahoo!, etc., that the service has your permission to send emails on your domain’s behalf.
If you skip SPF and DKIM configuration step, SendGrid will be the party managing your mail stream; thus, your recipients will continue to see the “via sendgrid.net” near the sender email address in the email header.

In addition to fixing this issue, SendGrid SPF and DKIM setup has two more benefits:
- Your emails are more likely to reach the inbox instead of the spam folder
- You get that much closer to improving your domain reputation
To authorize SendGrid to send emails on your domain behalf, you should set up SPF and DKIM by pointing DNS entries from your DNS Provider (GoDaddy, Cloudflare, etc.) to Sendgrid.
Setting up SendGrid SPF and DKIM
To configure your domain’s SPF and start SendGrid DKIM setup follow these steps:
- From your SendGrid portal, select Settings > Sender Authentication
- Click ‘Authenticate Domain’

3. Choose your DNS host
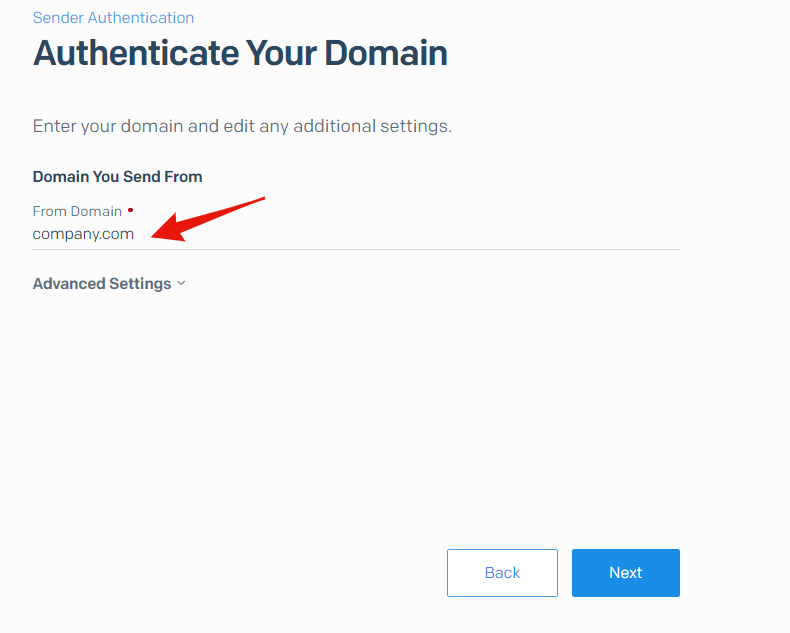
4. Enter the Domain on which you want Sendgrid DKIM and SPF authenticated

5. Add all the CNAME Records in your DNS host

6. Example of added CNAME Records in Cloudflare DNS

7. Once added, head back to your SendGrid UI and Verify
Congrats, you’ve successfully set up your SendGrid SPF and DKIM!
Important note: If the provider recommends publishing also a DMARC record, there’s no need to do so if you already have a DMARC record in place, as each domain can only have one DMARC record.
Follow the link to learn how to optimize SPF Record.


Where is the Step for SPF?
In the CNAME records, the first one you see is for SPF. SendGrid (and others) provide a CNAME record for SPF setup at the subdomain level.