HubSpot is an American developer and marketer of software products for inbound marketing, sales, and customer service.
Determine your sending domains: SPF and DKIM should be set up for each part you use to send emails from HubSpot. You can find a list of your sending domains on the Email Domain Management page in your HubSpot account but in this article, we’ll go over how to configure and set up HubSpot Authentication with DomainKeys Identified Mail (DKIM), we won’t be going over the SPF set up as of now HubSpot does not support SPF alignment at all.
Below we will explain how to connect your domain to HubSpot and later how to set up the DKIM step by step.
1- Log in to your HubSpot account.
2- From the navigation bar select the settings icon and try to connect your domain.
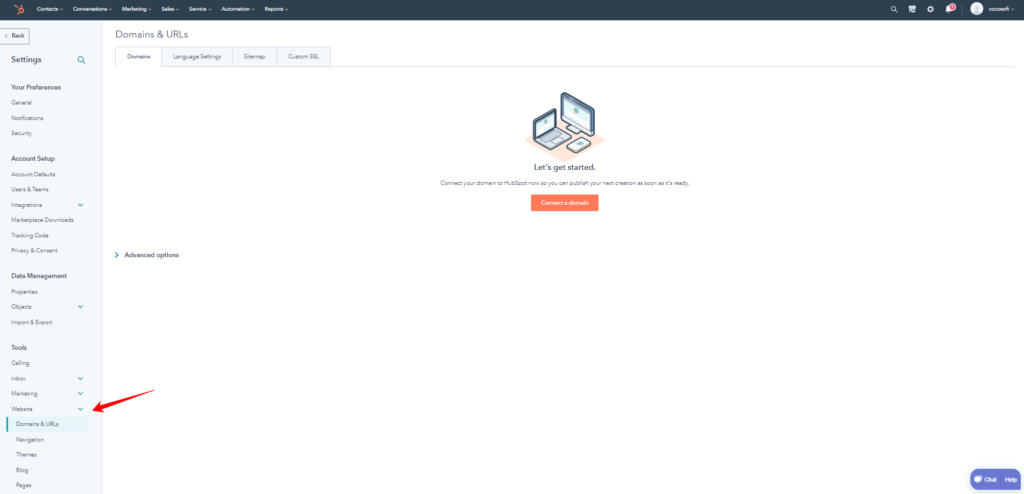
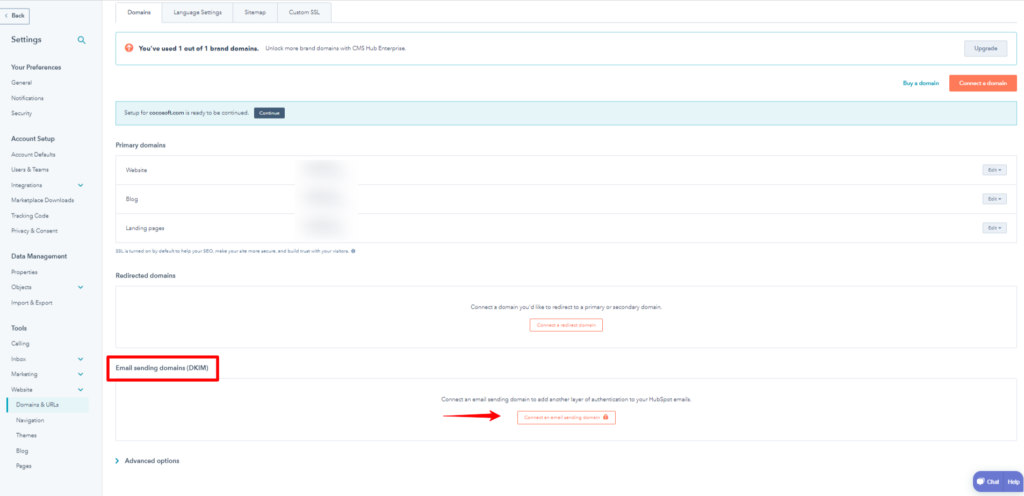
3- In your HubSpot account, head to the Email sending domains (DKIM) section and try to click on the connect an email sending domain button.
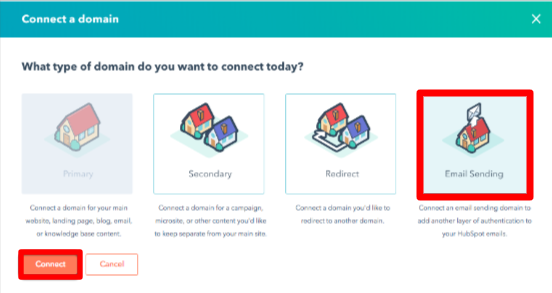
4- Once you click connect an email sending domain the system will pop up a connect a domain window, try to select the email sending one and make sure to add your email address that is used to send emails from that domain on the domain connection screen.
5- HubSpot will generate a DKIM key for you. Copy the Host and the Value, and then go back to your domain DNS zone and create a new CNAME record with the name and value that HubSpot provided.

6- Here’s an example demonstrating the process of deploying the two CNAME DKIM records provided to your DNS zone.

7- Once you’ve added the CNAME record, return to the Email Domain Management page in HubSpot and click the “Verify DKIM” button. HubSpot will verify that the CNAME record is set up correctly and enable DKIM for your domain.
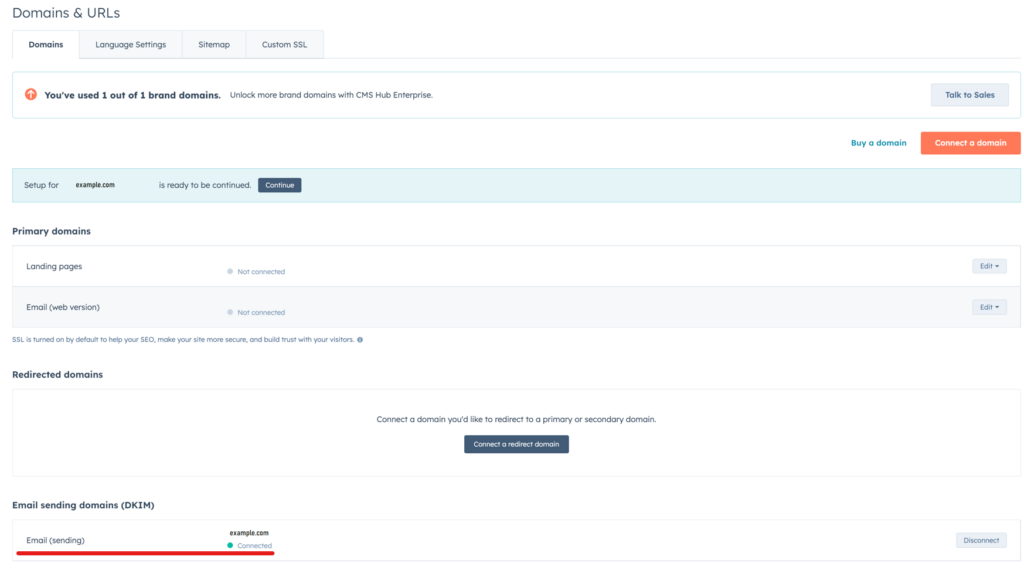
It may take some time for these changes to take effect, as DNS changes can take up to 48 hours to propagate. Once the changes have taken effect, DKIM records will be set up and you can start sending emails from your HubSpot account using your own domain.
Important note: If the provider recommends publishing also a DMARC record, there’s no need to do so if you already have a DMARC record in place, as each domain can only have one DMARC record.

