ConvertKit is a full-featured email service provider (ESP) created by Nathan Barry. Thanks to its ease of use, automation, and other features, it’s one of the fastest-growing email marketing companies around. It also offers customizable sign-up forms and landing pages to help bring in more email subscribers.
Below we will explain how to connect your domain to ConvertKit and later how to set up the DKIM step by step.
- Login into your ConvertKit account.
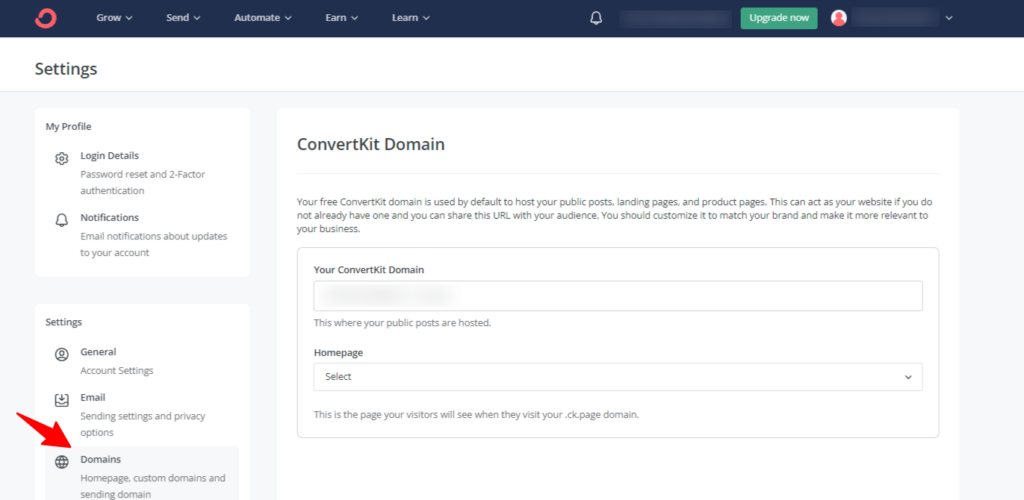
- Head to the settings page.
- And then try to click on the domains section.

4. Now from the Domain section scroll down to Verified Sending Domain and click on Verify your domain, write down your domain name in the provided field, and click next as in the screenshot below.

5. The platform will provide you with two different CNAME-type records for both SPF and DKIM, try to publish them into your DNS zone, and later on validate them from ConvertKit.

6. Example of added CNAME Records in Cloudflare DNS.

7. Once added, head back to your ConvertKit UI and Verify Congrats, you’ve successfully set up your ConvertKit SPF and DKIM!
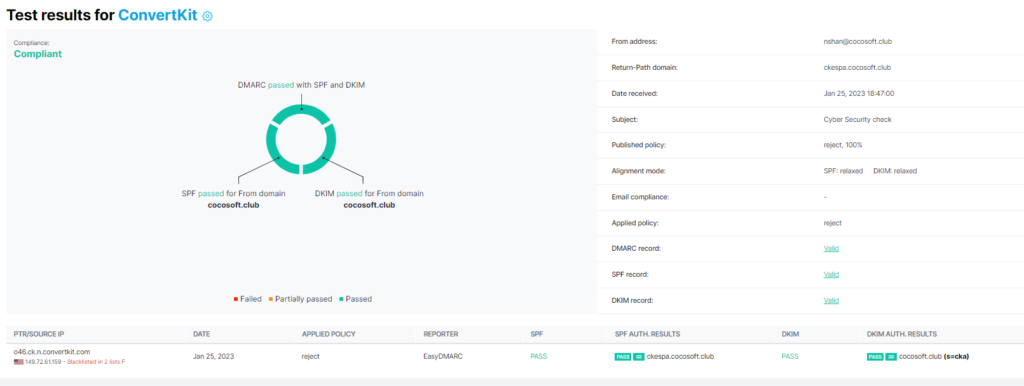
8. Meanwhile, you can use our Email Investigation tool and check it out in the screenshot below.

Important note: If the provider recommends publishing also a DMARC record, there’s no need to do so if you already have a DMARC record in place, as each domain can only have one DMARC record.
Congratulations, you now successfully authenticated your outgoing mail stream from ConvertKit with SPF and DKIM.


