


If you use SparkPost to send transactional or marketing emails, proper authentication is essential for inbox placement. Without a correctly configured SparkPost SPF record and DKIM setup, mailbox providers may flag your messages as suspicious or send them straight to spam.
SPF and DKIM work together to prove that SparkPost is authorized to send emails on behalf of your domain and that your messages have not been altered in transit. Even minor DNS errors can disrupt authentication and affect deliverability. This step-by-step guide walks you through configuring SparkPost SPF and DKIM correctly, avoiding common mistakes, and verifying that your setup passes authentication checks before moving to stricter DMARC enforcement.
Common SPF and DKIM Mistakes in SparkPost and How to Fix Them
Your emails may look properly configured inside SparkPost, yet still land in spam if DNS records are incomplete or incorrectly published. Below are the most common SparkPost SPF and DKIM issues and how to resolve them.
Multiple SPF Records
One of the most frequent mistakes is publishing more than one SPF TXT record for the same domain. Mailbox providers only process a single SPF record, and if multiple records exist, SPF validation fails automatically.
Instead of creating separate entries for each sending service, merge all authorized senders into one consolidated SparkPost SPF record using include mechanisms. This ensures proper SPF evaluation and prevents authentication failures.
Missing Third-Party Senders
Many businesses use multiple platforms alongside SparkPost, such as CRM systems, marketing tools, support desks, or billing software. If these services are not included in your SPF configuration or do not have proper DKIM signing enabled, their emails may fail authentication checks.
Make a complete list of every service that sends email on behalf of your domain and ensure each one is properly added to your SPF record and has valid DKIM records published.
Incorrect DKIM Selector or Formatting
DKIM is highly sensitive to small formatting errors. A wrong selector name, missing characters, extra spaces, or an incomplete public key string can cause DKIM validation to fail.
Always copy the DKIM selector and DNS values exactly as provided in your SparkPost dashboard. After publishing the record, verify it using a DKIM lookup tool to confirm it is correctly structured and publicly accessible.
DNS Propagation Confusion
After adding or updating SPF and DKIM records in your DNS panel, the changes do not propagate worldwide immediately. DNS propagation may take anywhere from a few minutes to up to 48 hours, depending on your TTL settings and global caching.
During this period, authentication tests might show mixed results. Avoid making repeated edits too quickly. Allow full propagation before troubleshooting further to prevent unnecessary configuration changes.
What Are the Steps for SparkPost SPF and DKIM Configuration
You need to set up and configure both SPF and DKIM so SparkPost can send email on your domain’s behalf and pass authentication checks used by mailbox providers like Gmail or Outlook.
1. Navigate to your SparkPost portal and select the “Configuration” button. This brings you to the control center, where domain authentication options for SparkPost SPF and SparkPost DKIM live.

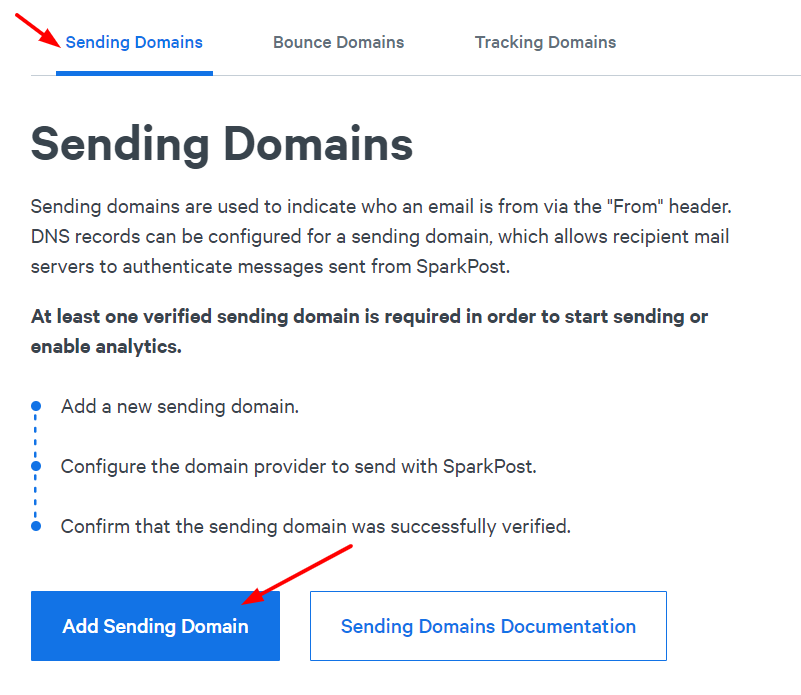
2. Select the “Sending Domains” section and click “Add Sending Domain.” Adding a sending domain tells SparkPost which domain to use in the “From” address, which is key for generating your authentication records.
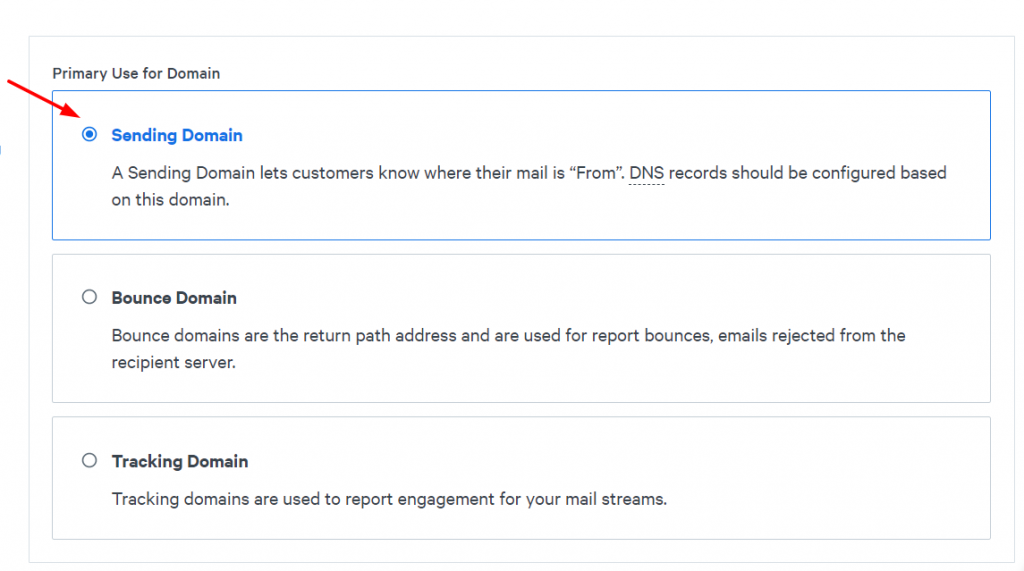
3. Choose the “Sending Domain” option when prompted. This ensures you’re setting up authentication for the right DNS identity that appears in your outgoing email headers.
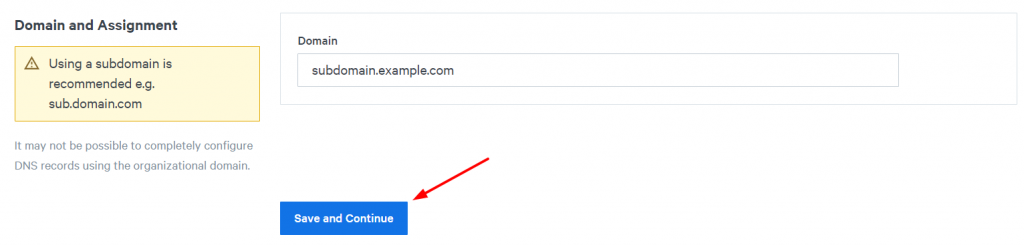
4. Enter your domain name at the bottom of the page and click “Save and Continue.” Using a subdomain (e.g., mail.yourdomain.com) is often recommended to keep your main domain’s reputation separate and focused.
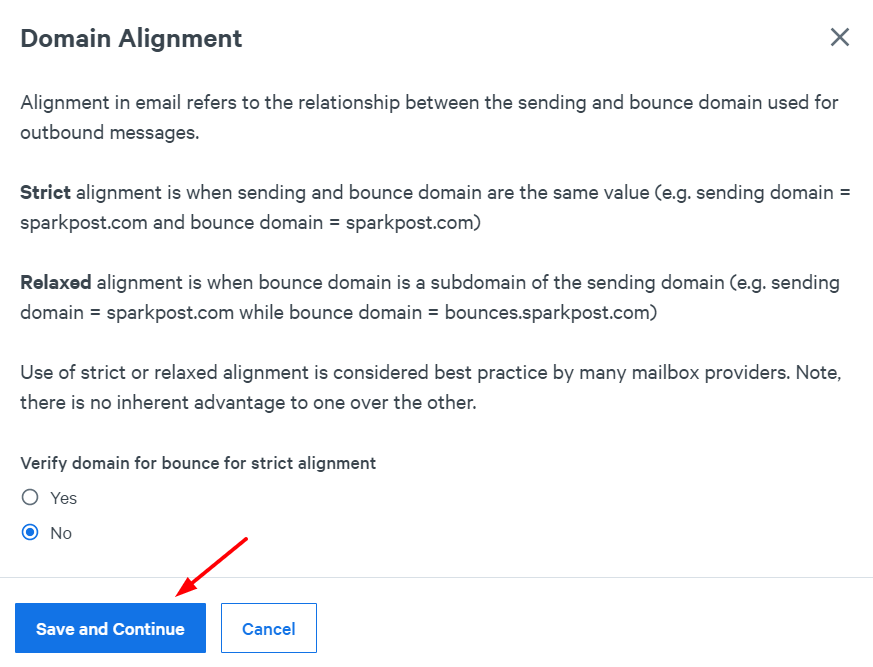
5. Select domain alignment (Strict or Relaxed) in the pop-up. Strict alignment means the sending and bounce domains must match exactly; relaxed alignment allows them to differ (e.g., mail.yourdomain.com vs. yourdomain.com), affecting how SPF/DKIM alignment appears to receivers.
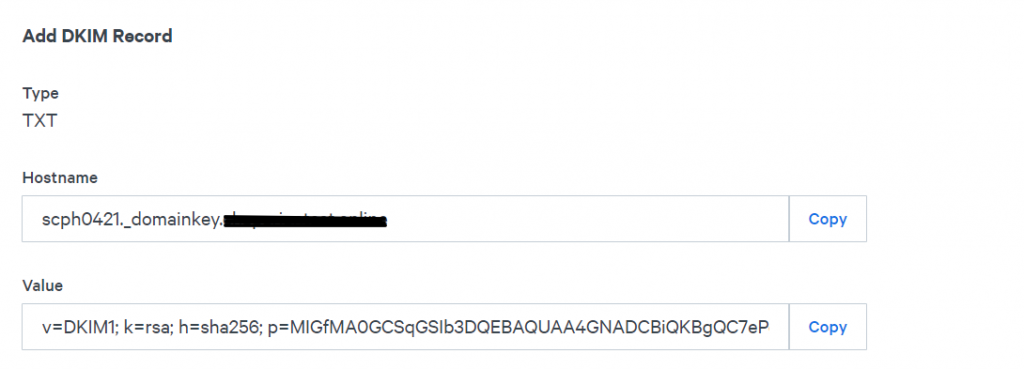
6. Copy the TXT and CNAME records SparkPost generates for you. These include the SparkPost SPF record and the DKIM key info you must publish in DNS so that receiving servers can verify your email is really from you.
Note: If you already use other email services, you can use an SPF Generator to safely merge SparkPost’s include statement into your existing SPF record without exceeding lookup limits.
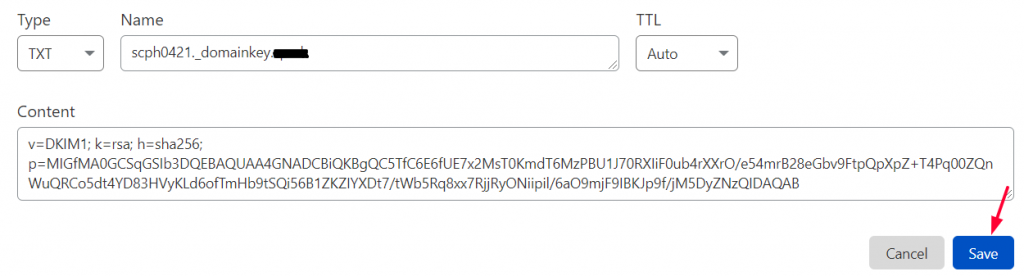
7. Go to your DNS provider (Cloudflare, GoDaddy, etc.) and create a new TXT record with the provided details. This TXT entry is where the SparkPost SPF record lives; it tells the world which mail servers are authorized to send on your domain’s behalf.
We’ll be using CloudFlare for this example.
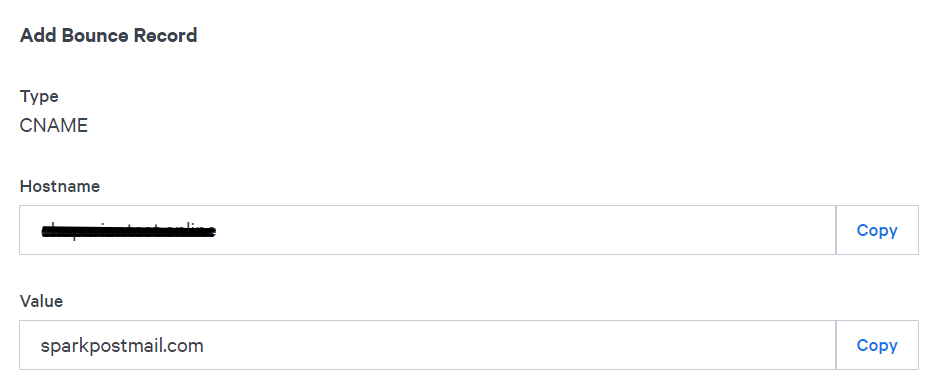
8. Back in SparkPost, copy the provided CNAME record and create it in your DNS zone. The DKIM CNAME record points to SparkPost’s key so that verification systems can fetch the correct public key for signature checks.
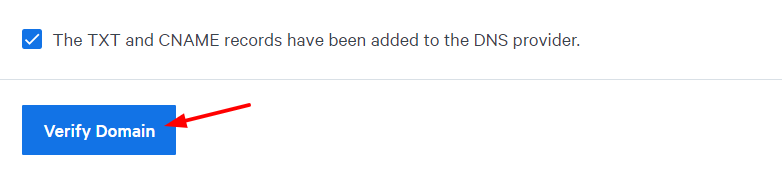
9. Return to SparkPost, check the boxes indicating you’ve added both records, and click “Verify Domain.” Verification confirms DNS propagation and ensures both your SPF SparkPost settings and SparkPost DKIM are correctly published and ready to authenticate outgoing mail.

10. When both records are added, navigate back to SparkPost, enable the checkbox and click on the “Verify Domain” button.
11. When clicked, two pop-ups will show indicating that both records are set up correctly.
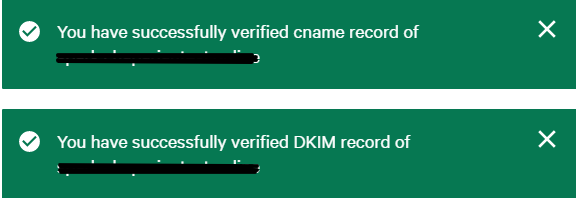
Now SparkPosts’ SPF and DKIM records are configured and activated to pass DMARC! To confirm the DKIM record is set up correctly, you can use our DKIM Lookup Tool. In the Selector section, type scph0421 and type your domain name in the Domain section.
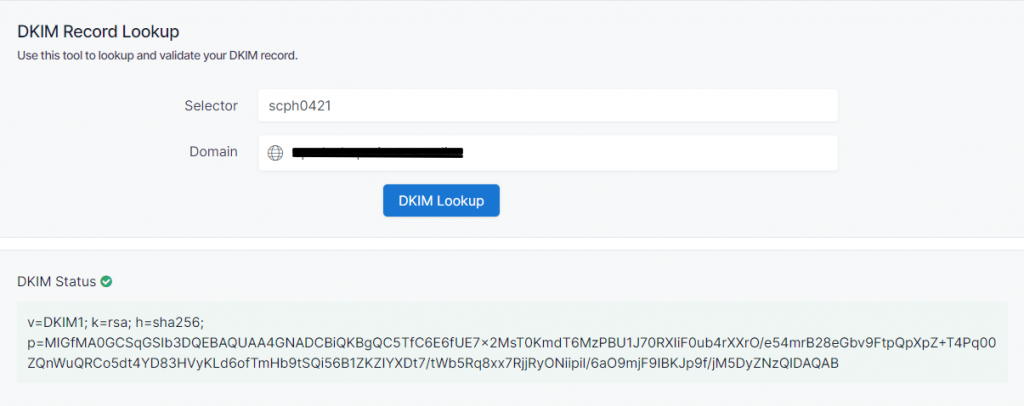
When the DKIM status is shown the green color, that indicates the record is set up correctly.
Important note: If the provider recommends publishing also a DMARC record, there’s no need to do so if you already have a DMARC record in place, as each domain can only have one DMARC record.
How to Verify SPF and DKIM for SparkPost
After completing your SparkPost domain setup and publishing the required SPF and DKIM entries, verification is essential to confirm everything is functioning correctly.
Start by running an authentication check using an SPF lookup tool. This allows you to confirm that your SparkPost SPF configuration is publicly visible and returns a PASS result. A successful SPF pass means the sending servers authorized under your SPF SparkPost settings are properly recognized by receiving mail systems.
Next, send a test email from your authenticated domain to a Gmail or Outlook inbox. Once the message is delivered, open it and view the full headers by selecting “Show Original” in Gmail or “View Message Headers” in Outlook.
In the authentication results section, confirm the following:
- SPF = PASS
- DKIM = PASS
If you have a DMARC record configured and both SPF and DKIM align with your sending domain, DMARC should also display PASS.
Completing this verification step ensures your SparkPost authentication setup is correctly implemented and stable before enforcing stricter DMARC policies, such as quarantine or reject.
How Can EasyDMARC Help?
Configuring SparkPost SPF and DKIM correctly is only the first step. Ongoing monitoring is what protects your domain reputation in the long run. Even a small change, like adding a new email platform or modifying DNS records, can affect SparkPost DKIM alignment or break the SPF record without you realizing it.
With EasyDMARC, you can monitor authentication results in real time, detect SPF lookup issues, track DKIM failures, and receive clear insights into DMARC alignment. Instead of manually checking headers or troubleshooting vague deliverability problems, you get actionable visibility into your domain’s authentication health.
If you want to strengthen your SPF SparkPost configuration and prevent spoofing before it impacts your inbox placement, start monitoring your domain with EasyDMARC today.
Frequently Asked Questions
DMARC protects your domain from spoofing and phishing by enforcing alignment between SPF, DKIM, and the visible “From” address. For SparkPost emails, DMARC ensures mailbox providers trust your authenticated messages and reject unauthorized senders attempting to misuse your domain name.
SparkPost generates the necessary SPF include statement and DKIM records, but you must manually publish them in your DNS. Authentication does not activate automatically. Until DNS records are added and verified, your SparkPost emails may fail SPF or DKIM checks.
Without DMARC, even properly configured SPF and DKIM can be exploited by spoofers using domain lookalikes. DMARC enforces policy actions like quarantine or reject, strengthens brand protection, and improves deliverability for legitimate SparkPost email traffic.