Mailjet is a cloud-based email delivery and tracking system founded in 2010, it allows users to send marketing and transactional emails. In this informative post, we’ll go over how to configure and setup DKIM and SPF for Mailjet.
Important Note: Mailjet provides the SPF record v=spf1 include:spf.mailjet.com ?all, but you should not publish it in your DNS. Instead, only publish the DKIM record. Even if you add the SPF record, Mailjet emails will still fail SPF checks. The correct SPF setup requires a unique CNAME record, which you can find in the end of this article (Setup SPF).
Configure DKIM
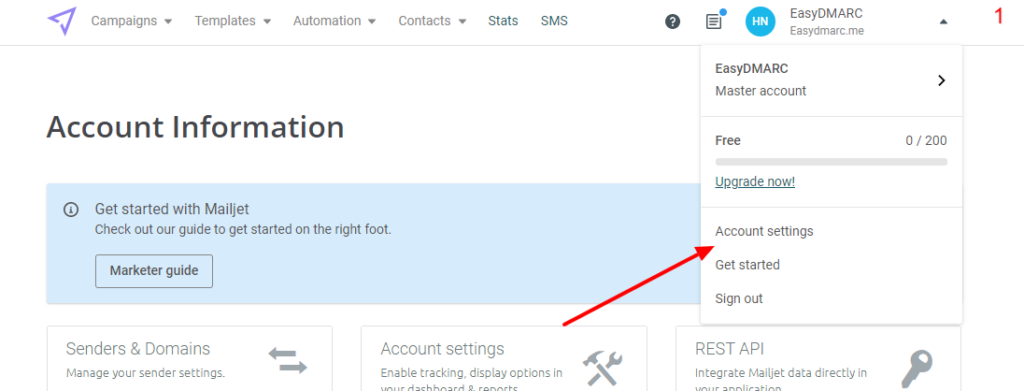
Step 1: Head to Account settings from the Mailjet account panel
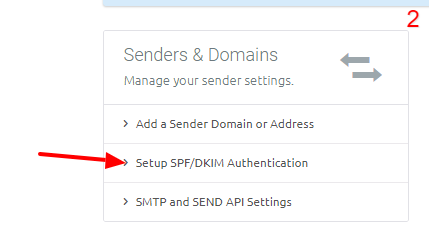
Step 2: Navigate to Setup SPF/DKIM Authentication
Step 3: Click on Manage on the right side of your domain
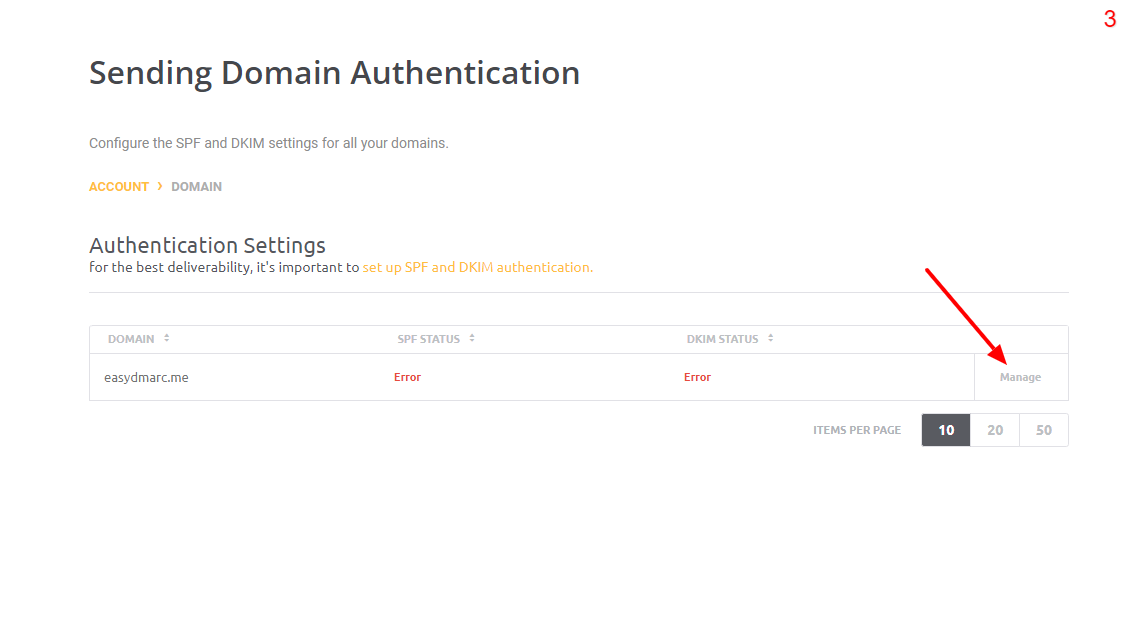
Now, Mailjet will provide you with two DNS records unique to your domain.
Step 4: Ignore the SPF record for the reasons mentioned above and copy the DKIM record.
Step 5: Go to your DNS zone (In our case it’s in Cloudflare)

Note: Turn off any proxy settings if you’re using Cloudflare.
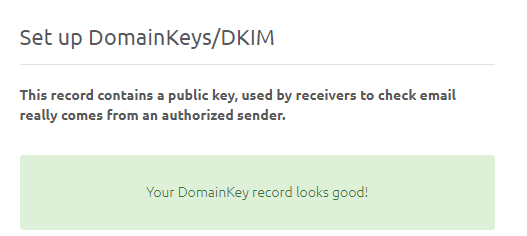
Once verified, you’ll be able to see Mailjet displaying Your DomainKey record looks good!

You can start sending emails and you’ll see them under the DMARC compliant tab with DKIM passing and aligning with your domain.

Setup SPF
As for the SPF configuration, you’ll need to:
Step 1: Head to your domain DNS zone.
Step 2: Create a subdomain for your main domain using the prefix “bnc3”.
Step 3: Add a CNAME record bnc3.yourdomain.com as the Name/Host and bnc3.mailjet.com as the Target/Value.

Step 5: Get in touch with the Mailjet support team and ask them to activate your personalized return path.
Important note: If the provider recommends publishing also a DMARC record, there’s no need to do so if you already have a DMARC record in place, as each domain can only have one DMARC record.
If you have any further questions regarding Mailjet authentication, don’t hesitate to contact EasyDMARC or reach out to the support team at [email protected]
