In this article, we are going to give you step-by-step instructions on how to configure SPF and DKIM records for Cakemail.
The process of configuring DKIM
- Log in to the Cakemail portal and click on My profile.
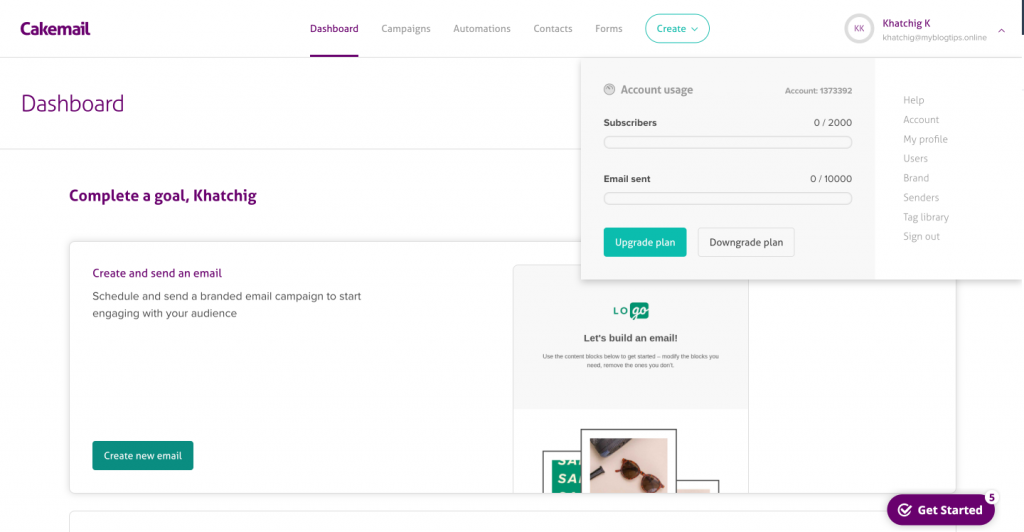
2. Click on Senders, and then Authenticate domain.
3. Click on continue and the platform will provide you with DKIM and DMARC records. You can skip the DMARC part since you already have a DMARC record.

4. Click on Continue and start by adding the DKIM TXT record to your DNS zone.
I will be using Cloudflare as an example.
Once you have added it click on continue or authenticate domain. Once it’s authenticated/verified it will be displayed as the following.
Important: The process to create a TXT record varies based on the DNS Provider/ Manager you use. Some DNS providers (like Cloudflare, GoDaddy, Wix, Squarespace, Namecheap, etc.) append the domain name automatically. In such cases, you can just provide <selector>._domainkey as the TXT record name. But there are some DNS Providers that require you to add the domain name in the Host/Name field of the TXT record (<selector>._domainkey.yourdomain.com).
The process of configuring SPF
- Click on Tracking Domain as illustrated in the screenshot below.
2. The platform will provide you with 2 CNAME records which you need to implement in your DNS zone.
3. Add both CNAME records into your DNS zone, if your DNS zone has the Proxy Status On, make sure to toggle it Off.
The first record is for tracking which is optional.
The second record is for SPF.
Once you add them click on Validate and Save.
Please note that DNS propagation could take some time.
Congratulations you have successfully configured SPF and DKIM.
Important note: If the provider recommends publishing also a DMARC record, there’s no need to do so if you already have a DMARC record in place, as each domain can only have one DMARC record.

