


This instructional article will demonstrate the Elastic Email configuration process of Sender Policy Framework (SPF), DomainKeys Identified Mail (DKIM) Signatures to ensure Elastic Email passes the DMARC alignment check and eliminates spam from your domain and increases security.
SPF Configuration Process
To ensure the emails from Elastic Email are sent on behalf of your domain, we need to create or update your existing SPF record by following the steps below:
- Login to your Elastic Email portal
- Navigate to Settings>Domains>Manage Domains (You notice a screen as shown below):
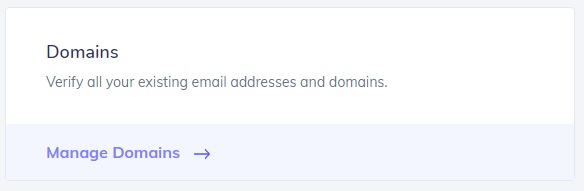
3. Click on “Start Verification”
4. Click on “Verify Domain” in order to verify your domain
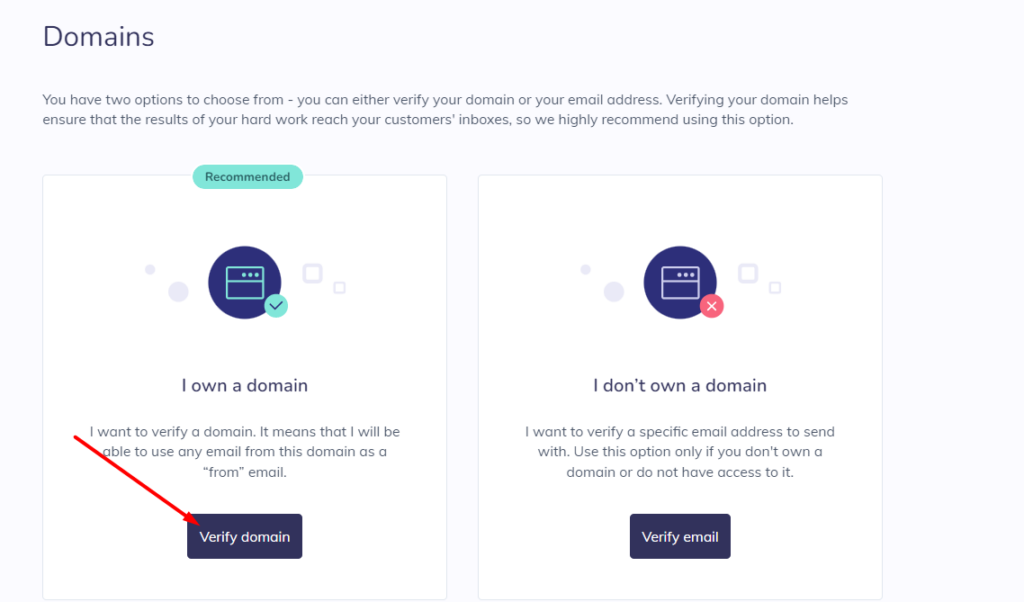
5. Enter your Domain
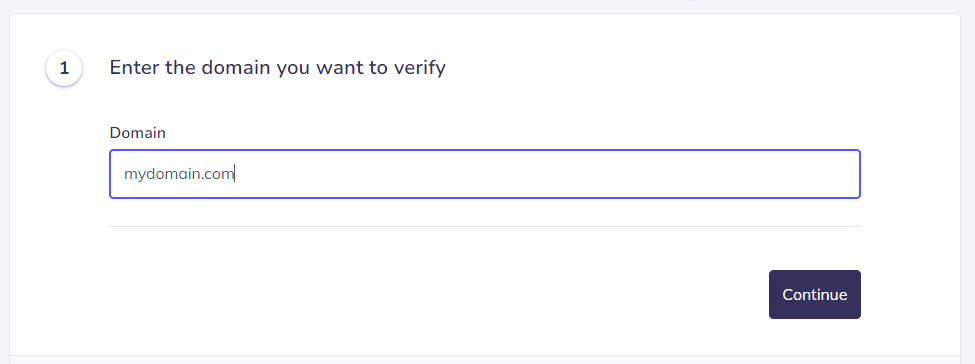
6. After noticing this screen, click on “Continue” and head to your DNS Zone
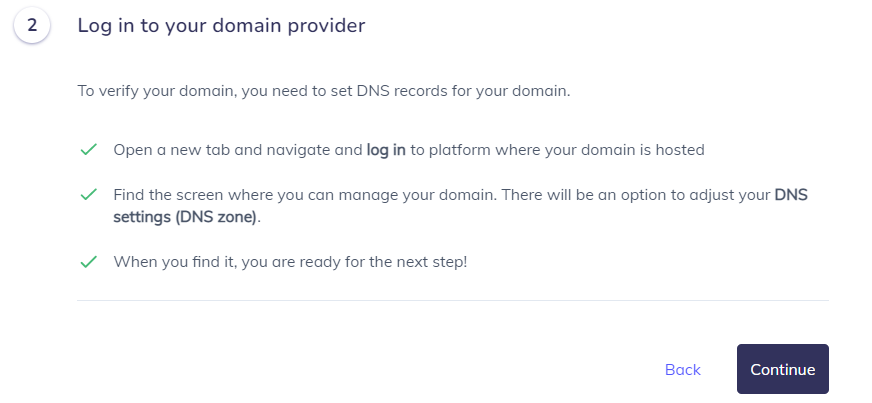

For this step, you can also easily create the SPF Record by using our SPF Generator Tool
7. Add include:_spf.elasticemail.com in the include:__ section.
8. Choose the Policy (The options are: Fail (Not Compliant will be rejected), SoftFail (Not Compliant will be accepted but marked) and Neutral (Mails will be probably accepted)).
9. When you have made followed the steps, click on the “Generate”
10. Copy the provided Elastic Email SPF record and navigate to your DNS provider (CloudFlare, Godaddy, etc.) and create a TXT Record. We’ll be using CloudFlare for
this example.
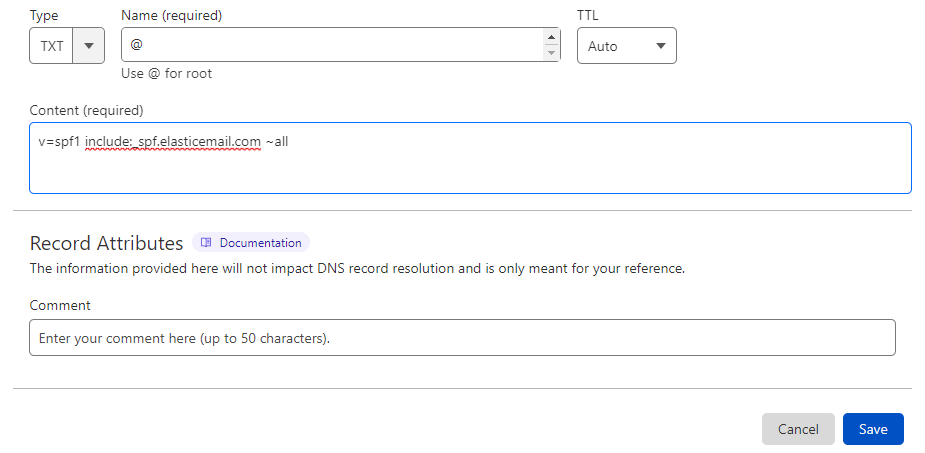
11. Click on “Save”
12. Head back to ELastic Email portal and click on the “Verify record” button to continue
Important Note: If everything was set up correctly, you should be at a confirmation step of the verification process. This informs you that you can now use any email address related to your domain to send emails.
“Default sender” Note: When there is a default sender set on the account, emails are still branded using the default sender, even if sent from a non-verified domain. If there is no default sender set, and an email is sent from a non-verified domain, then elasticemail.com is used. Also, if a default sender is set, then sub accounts will inherit the ability to use the main account’s default verified sender domain.
DKIM Configuration Process
In order to authenticate Elastic Email by DKIM, please follow the steps below:
- Create a new TXT Record in your DNS Zone, by the following information:
Host-Name: api._domainkey
Value: k=rsa;t=s;p=MIGfMA0GCSqGSIb3DQEBAQUAA4GNADCBiQKBgQCbmGbQMzYeMvxwtNQoXN0waGYaciuKx8mtMh5czguT4EZlJXuCt6V+l56mmt3t68FEX5JJ0q4ijG71BGoFRkl87uJi7LrQt1ZZmZCvrEII0YO4mp8sDLXC8g1aUAoi8TJgxq2MJqCaMyj5kAm3Fdy2tzftPCV/lbdiJqmBnWKjtwIDAQAB
Note: We’ll be using CloudFlare for this example.
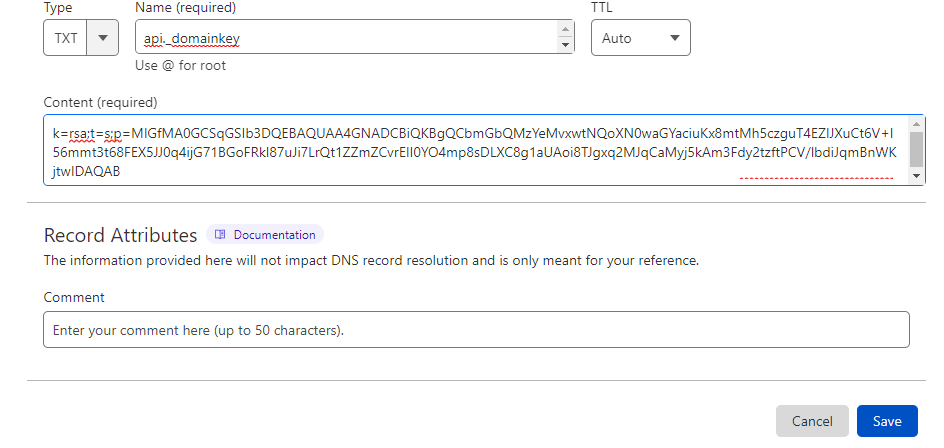
2. Click on “Save”
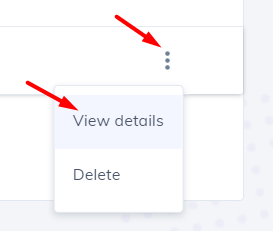
In order to check if your SPF and DKIM records have been successfully verified by Elastic Email. Please head to your portal and if a blue star is present next to the domain name, it indicates that it’s set as a Default Sender. You can enter a domain’s details by clicking View details next to the domain name.
Here, you can set your domain as default sender and check if your SPF, DKIM and other records are properly verified.
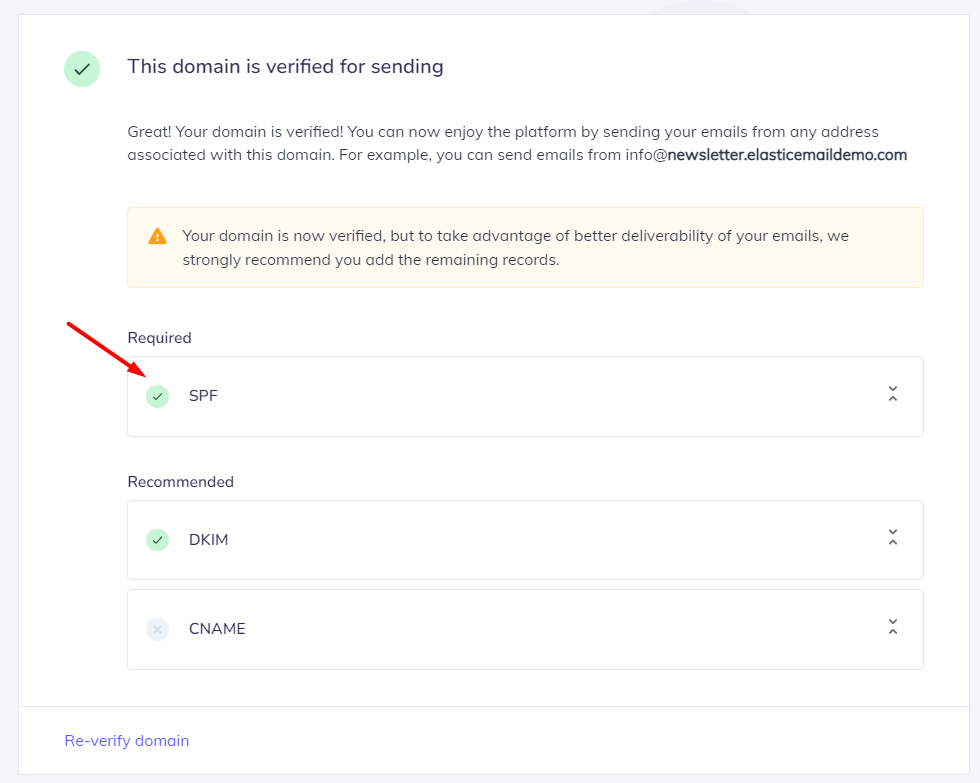
Congratulations, you now successfully authenticated your outgoing mail stream from Elastic Email with SPF and DKIM.
Important note: If the provider recommends publishing also a DMARC record, there’s no need to do so if you already have a DMARC record in place, as each domain can only have one DMARC record.