GoDaddy.com is one of the largest domain registrars in the world. With about 6,000 employees worldwide as of 2021, it caters to more than 21 million customers. In addition to the main domain registrar service, it started offering SSL registration, web hosting, and website design as well.
It’s no secret that email authentication plays an important role to allow the email receiver to identify the sender. Obviously, DMARC is a leading industry solution for protecting your business domain from phishing and spoofing.
Adding email authentication protocols to GoDaddy is easy. This post dives into safeguarding your GoDaddy with DMARC.
Step 1. Generate DMARC Record
Before you add a DMARC record to GoDaddy, first, visit EasyDMARC and generate a DMARC record.
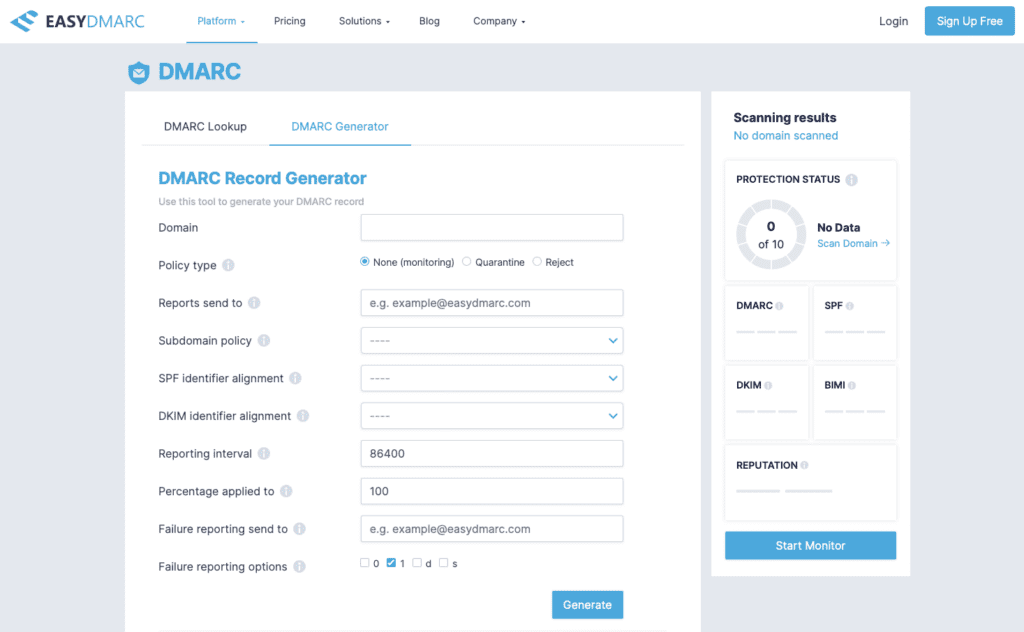
It might seem overwhelming, but the default options for each choice are really the best practice when you’re just starting your DMARC journey. So just set all the parameters mentioned above and click “Generate”. The resulting DMARC record should look like this:
v=DMARC1; p=reject; rua=mailto:[email protected]; ruf=mailto:[email protected]; sp=none;
You can learn more about what components DMARC record is made of and what they do in our previous articles.
Step 2. Navigate to “Manage DNS”
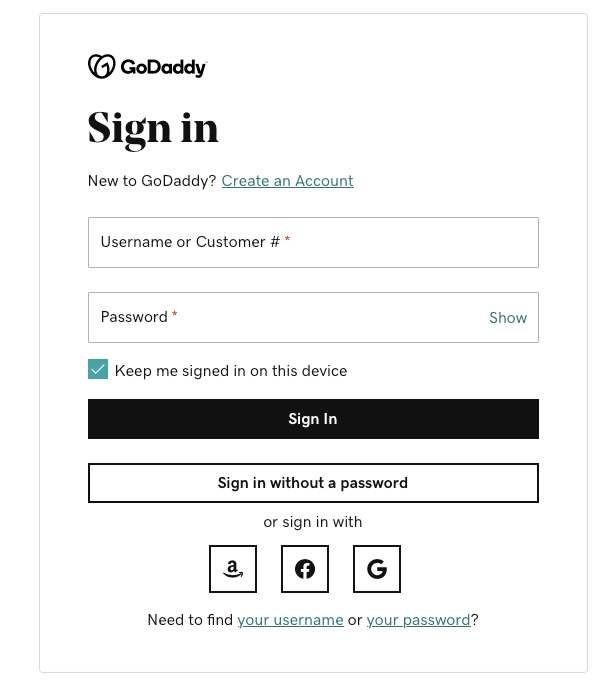
1. Here, log into your GoDaddy account:
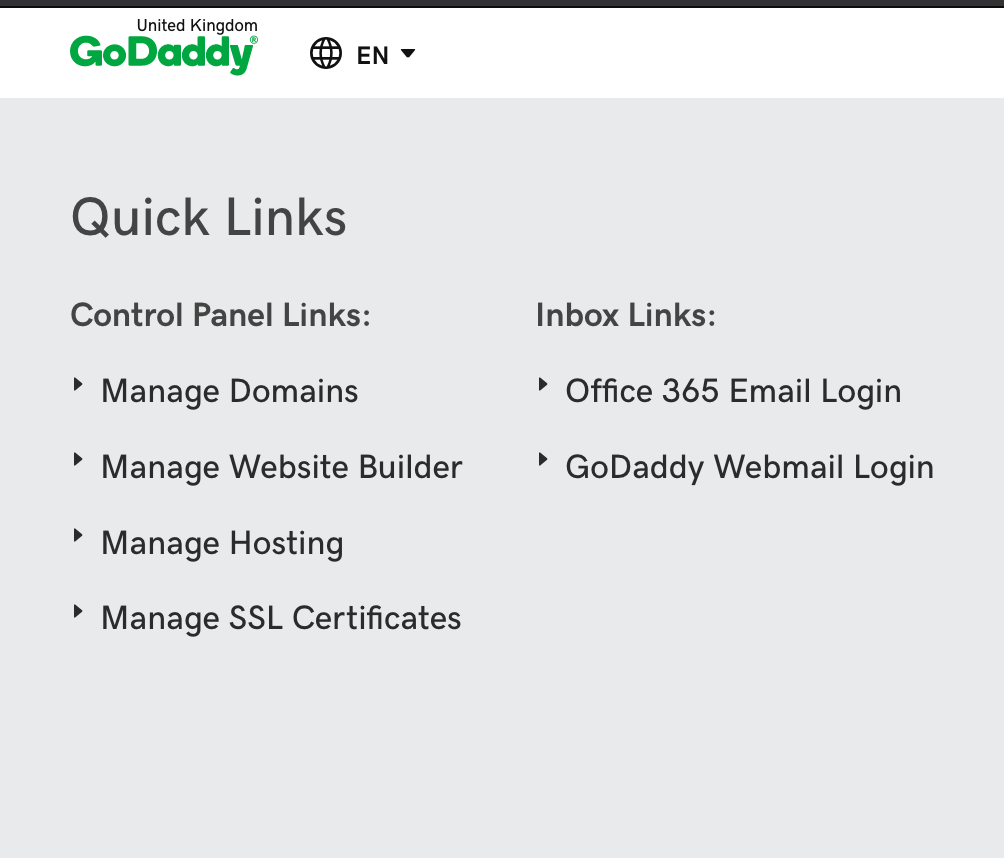
2. Navigate to “Domain Manager” and choose your domain.
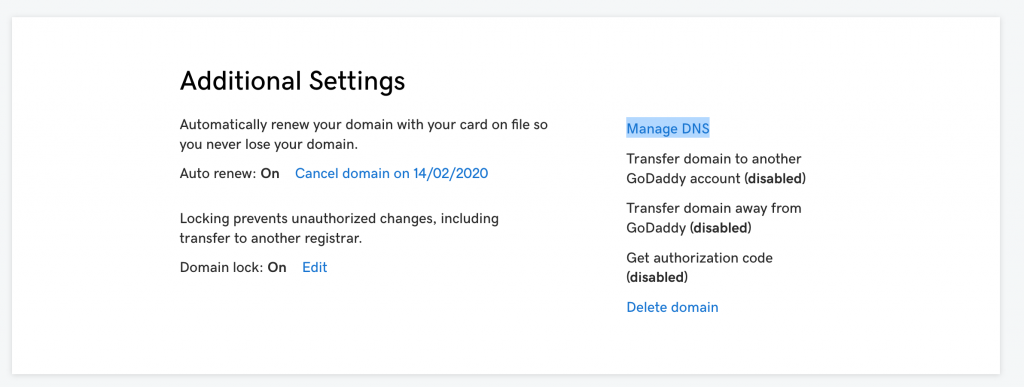
3. In the Domain Settings, at the bottom of the page, click Manage DNS.
Step 3. Add a DMARC Record to GoDaddy DNS
In the DNS / Records section at the bottom of the page, click “Add”. Use the generated GoDaddy DMARC Record and add it step by step as shown below:
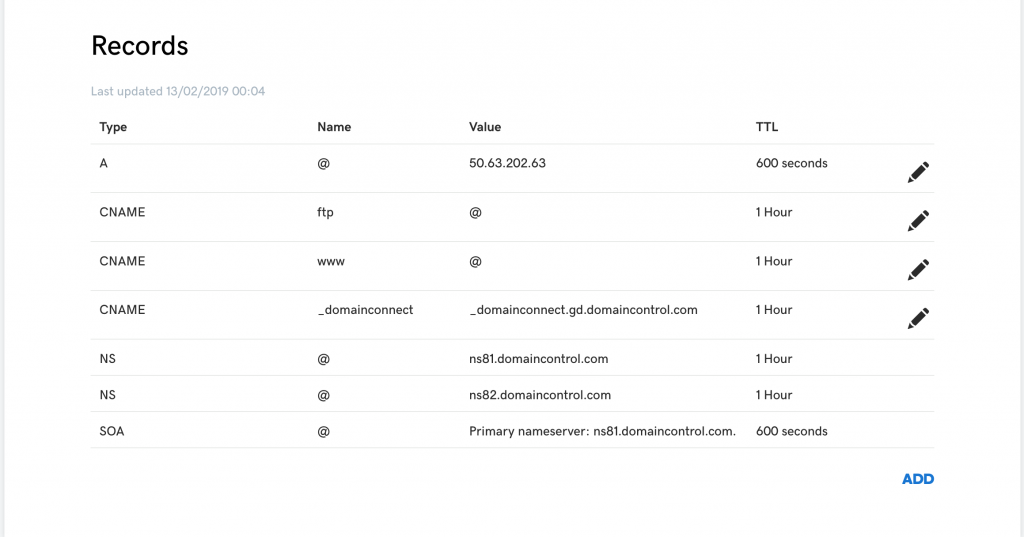
1. Make sure to select TXT type

2. In the Host section add “ _dmarc” and in the TXT value field add the DMARC record for GoDaddy.
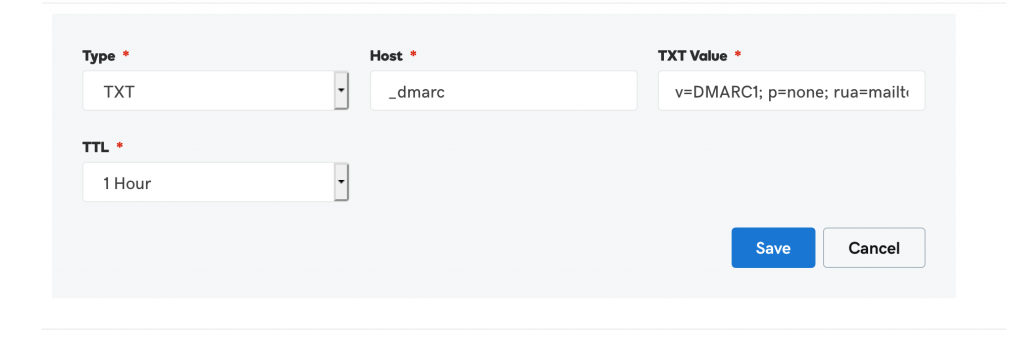
That’s it: you’ve successfully set up your domain’s GoDaddy DMARC record.
While the initial setup is easy, to get the most of your DMARC record, you need to advance it to “reject” policy. Achieving that is a step-by-step process. Read more about DMARC in our blog or sign up for a managed DMARC solution.
To find out more about GoDaddy, check out this GoDaddy review.

